Late August is the right time to begin planning your commercial property’s pre-winter roof inspection. Iowa’s fall weather window closes quickly, and unresolved problems involving drainage, flashing, roof edges, or penetrations can become expensive leaks after the first freeze.
A professional drone roof inspection in Iowa gives you a detailed visual record of your roof without sending staff, contractors, or adjusters onto ladders, scaffolds, lifts, or hazardous roof surfaces. Studio 5 Drone Productions uses FAA Part 107-certified pilots and ultra-HD imaging to help you identify visible concerns quickly and plan the next action.
This five-step checklist is designed for Iowa property managers, facility managers, building owners, and insurance professionals.
Why a Pre-Winter Drone Roof Inspection Matters
Commercial roofs face repeated stress from Iowa’s wind, hail, snow, ice, and freeze-thaw cycles. Small openings around flashing or rooftop equipment can allow water beneath roofing materials before a leak becomes visible inside the building.
A fall inspection creates a documented baseline before winter weather arrives. It also gives you time to coordinate cleaning, repairs, contractor bids, and insurance documentation while conditions remain workable.
A drone inspection is especially useful because it provides:
No ladder or scaffold exposure for routine visual documentation
High-resolution 4K video and detailed still imagery
Faster coverage of large or difficult-to-access roof areas
Documentation of roof edges, parapets, drains, HVAC units, and penetrations
A repeatable visual record for maintenance planning
Less disruption to tenants, employees, customers, and daily operations
Drone imagery is a visual inspection tool. It does not replace a qualified roofing contractor, engineer, or technician when concealed damage, moisture, structural conditions, or physical testing requires hands-on evaluation.
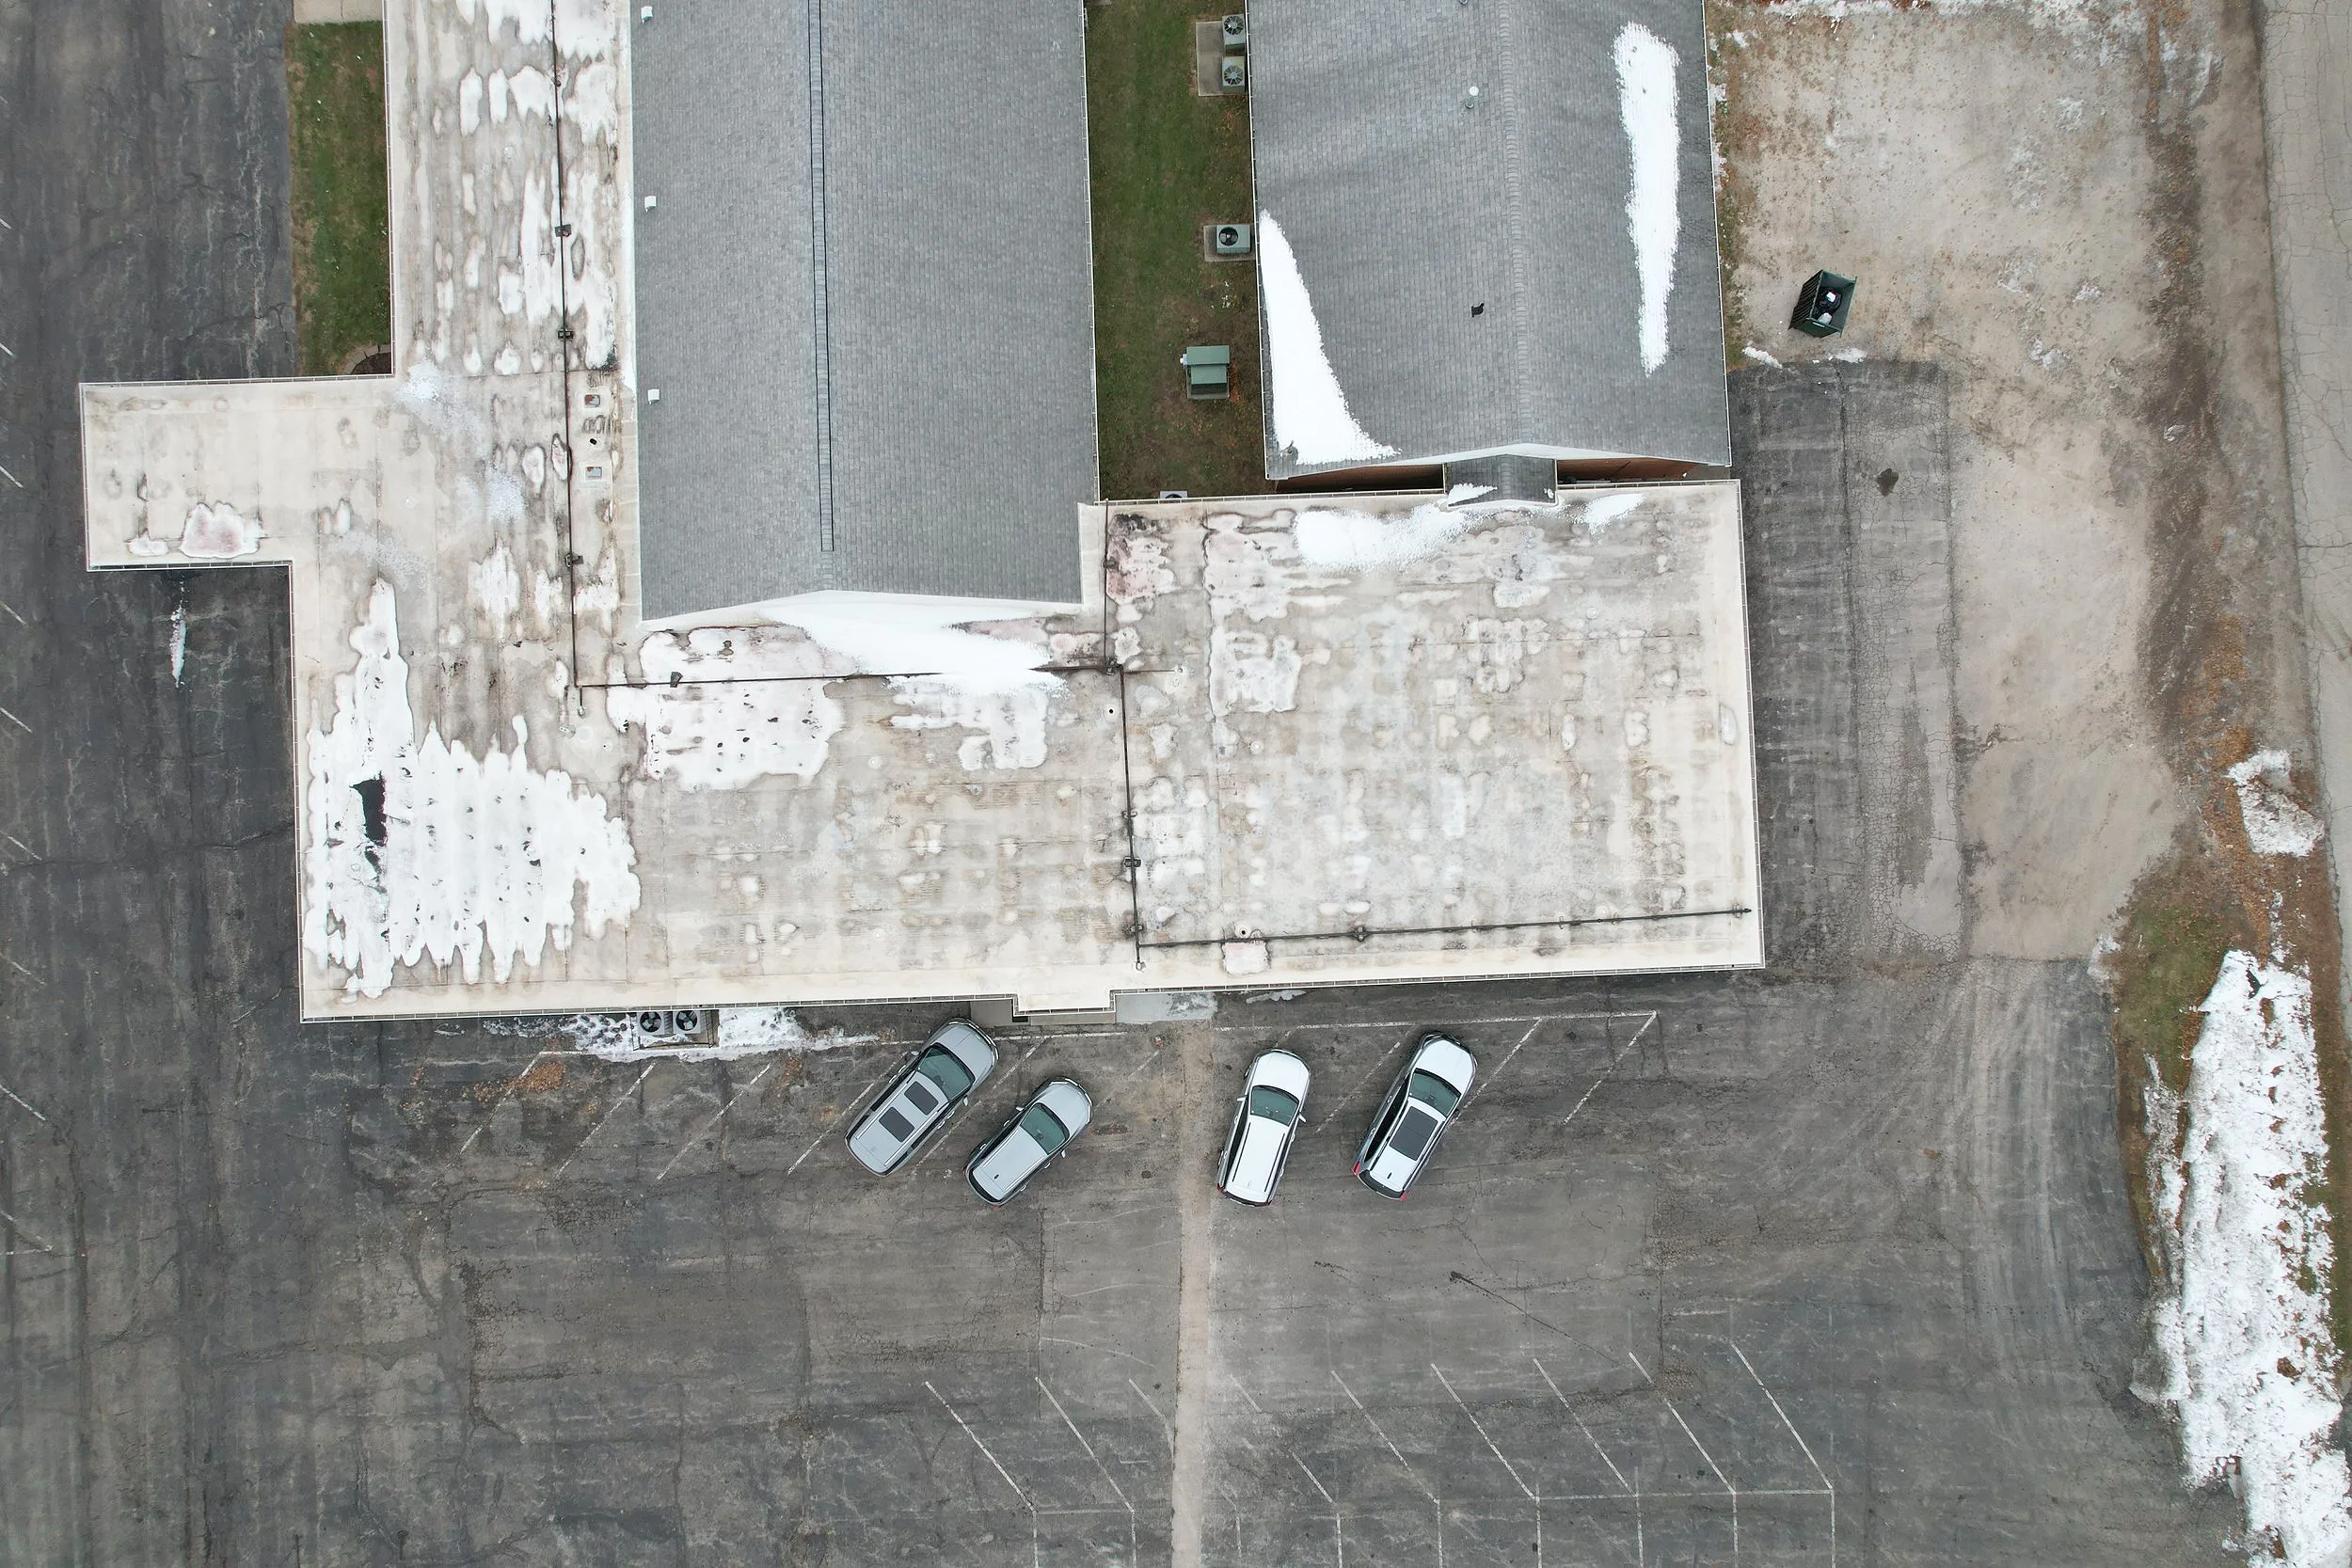
Partial Aerial Eagle View of a Commercial Property
Step 1: Complete Pre-Flight Planning Before the Drone Launches
A professional inspection begins before the aircraft leaves the ground. The pilot and property representative should establish the inspection scope, site conditions, safety controls, and reporting requirements in advance.
Confirm the property and inspection objectives
Identify the building or buildings included in the assignment. Confirm roof types, known leak locations, recent repairs, storm damage, and areas requiring closer review.
For multi-building properties, assign each roof a clear name or number. This prevents confusion when reviewing images later and creates a consistent record for future inspections.
Verify FAA compliance
Commercial drone operations must follow applicable FAA rules. Under Part 107, the remote pilot must hold an FAA Remote Pilot Certificate, and the drone must meet registration and operational requirements.
Before the flight, the pilot should verify:
Part 107 certification
Drone registration
Remote ID compliance
Airspace classification
LAANC authorization when required
Temporary flight restrictions and local notices
Visual line-of-sight requirements
Restrictions involving people, vehicles, and neighboring property
The FAA commercial operator guidance explains the requirements for operating small unmanned aircraft for business. The FAA also provides current information about Remote Identification.
Check the site and weather
The pilot should inspect the planned launch area and identify:
Power lines and utility structures
Trees and tall landscaping
Antennas, towers, and rooftop equipment
Nearby buildings
Parking areas and moving vehicles
Employees, tenants, customers, and pedestrians
Safe areas for takeoff and landing
Wind, rain, fog, blowing snow, and icing conditions can reduce flight safety and image quality. A professional pilot postpones the flight when weather creates an unacceptable risk.
Establish communication
The property manager should identify a site contact who can provide access, answer questions, and notify occupants if needed. Written permission to operate over or near the property should be obtained before the mission.
Step 2: Document the Exterior Roof Condition in Organized Passes
Once the flight begins, the pilot should capture the roof systematically rather than collecting random photographs. A repeatable pattern makes it easier to compare conditions from one inspection to the next.
Begin with wide images that show the complete building, surrounding property, roof shape, and relationship to nearby structures. These overview images establish location and context for every detailed photograph that follows.
Next, divide the roof into inspection zones, such as:
North, south, east, and west roof sections
Main roof field
Perimeter edges and parapets
Roof valleys and ridges
Mechanical equipment areas
Drainage paths
Skylights and rooftop structures
Known problem areas
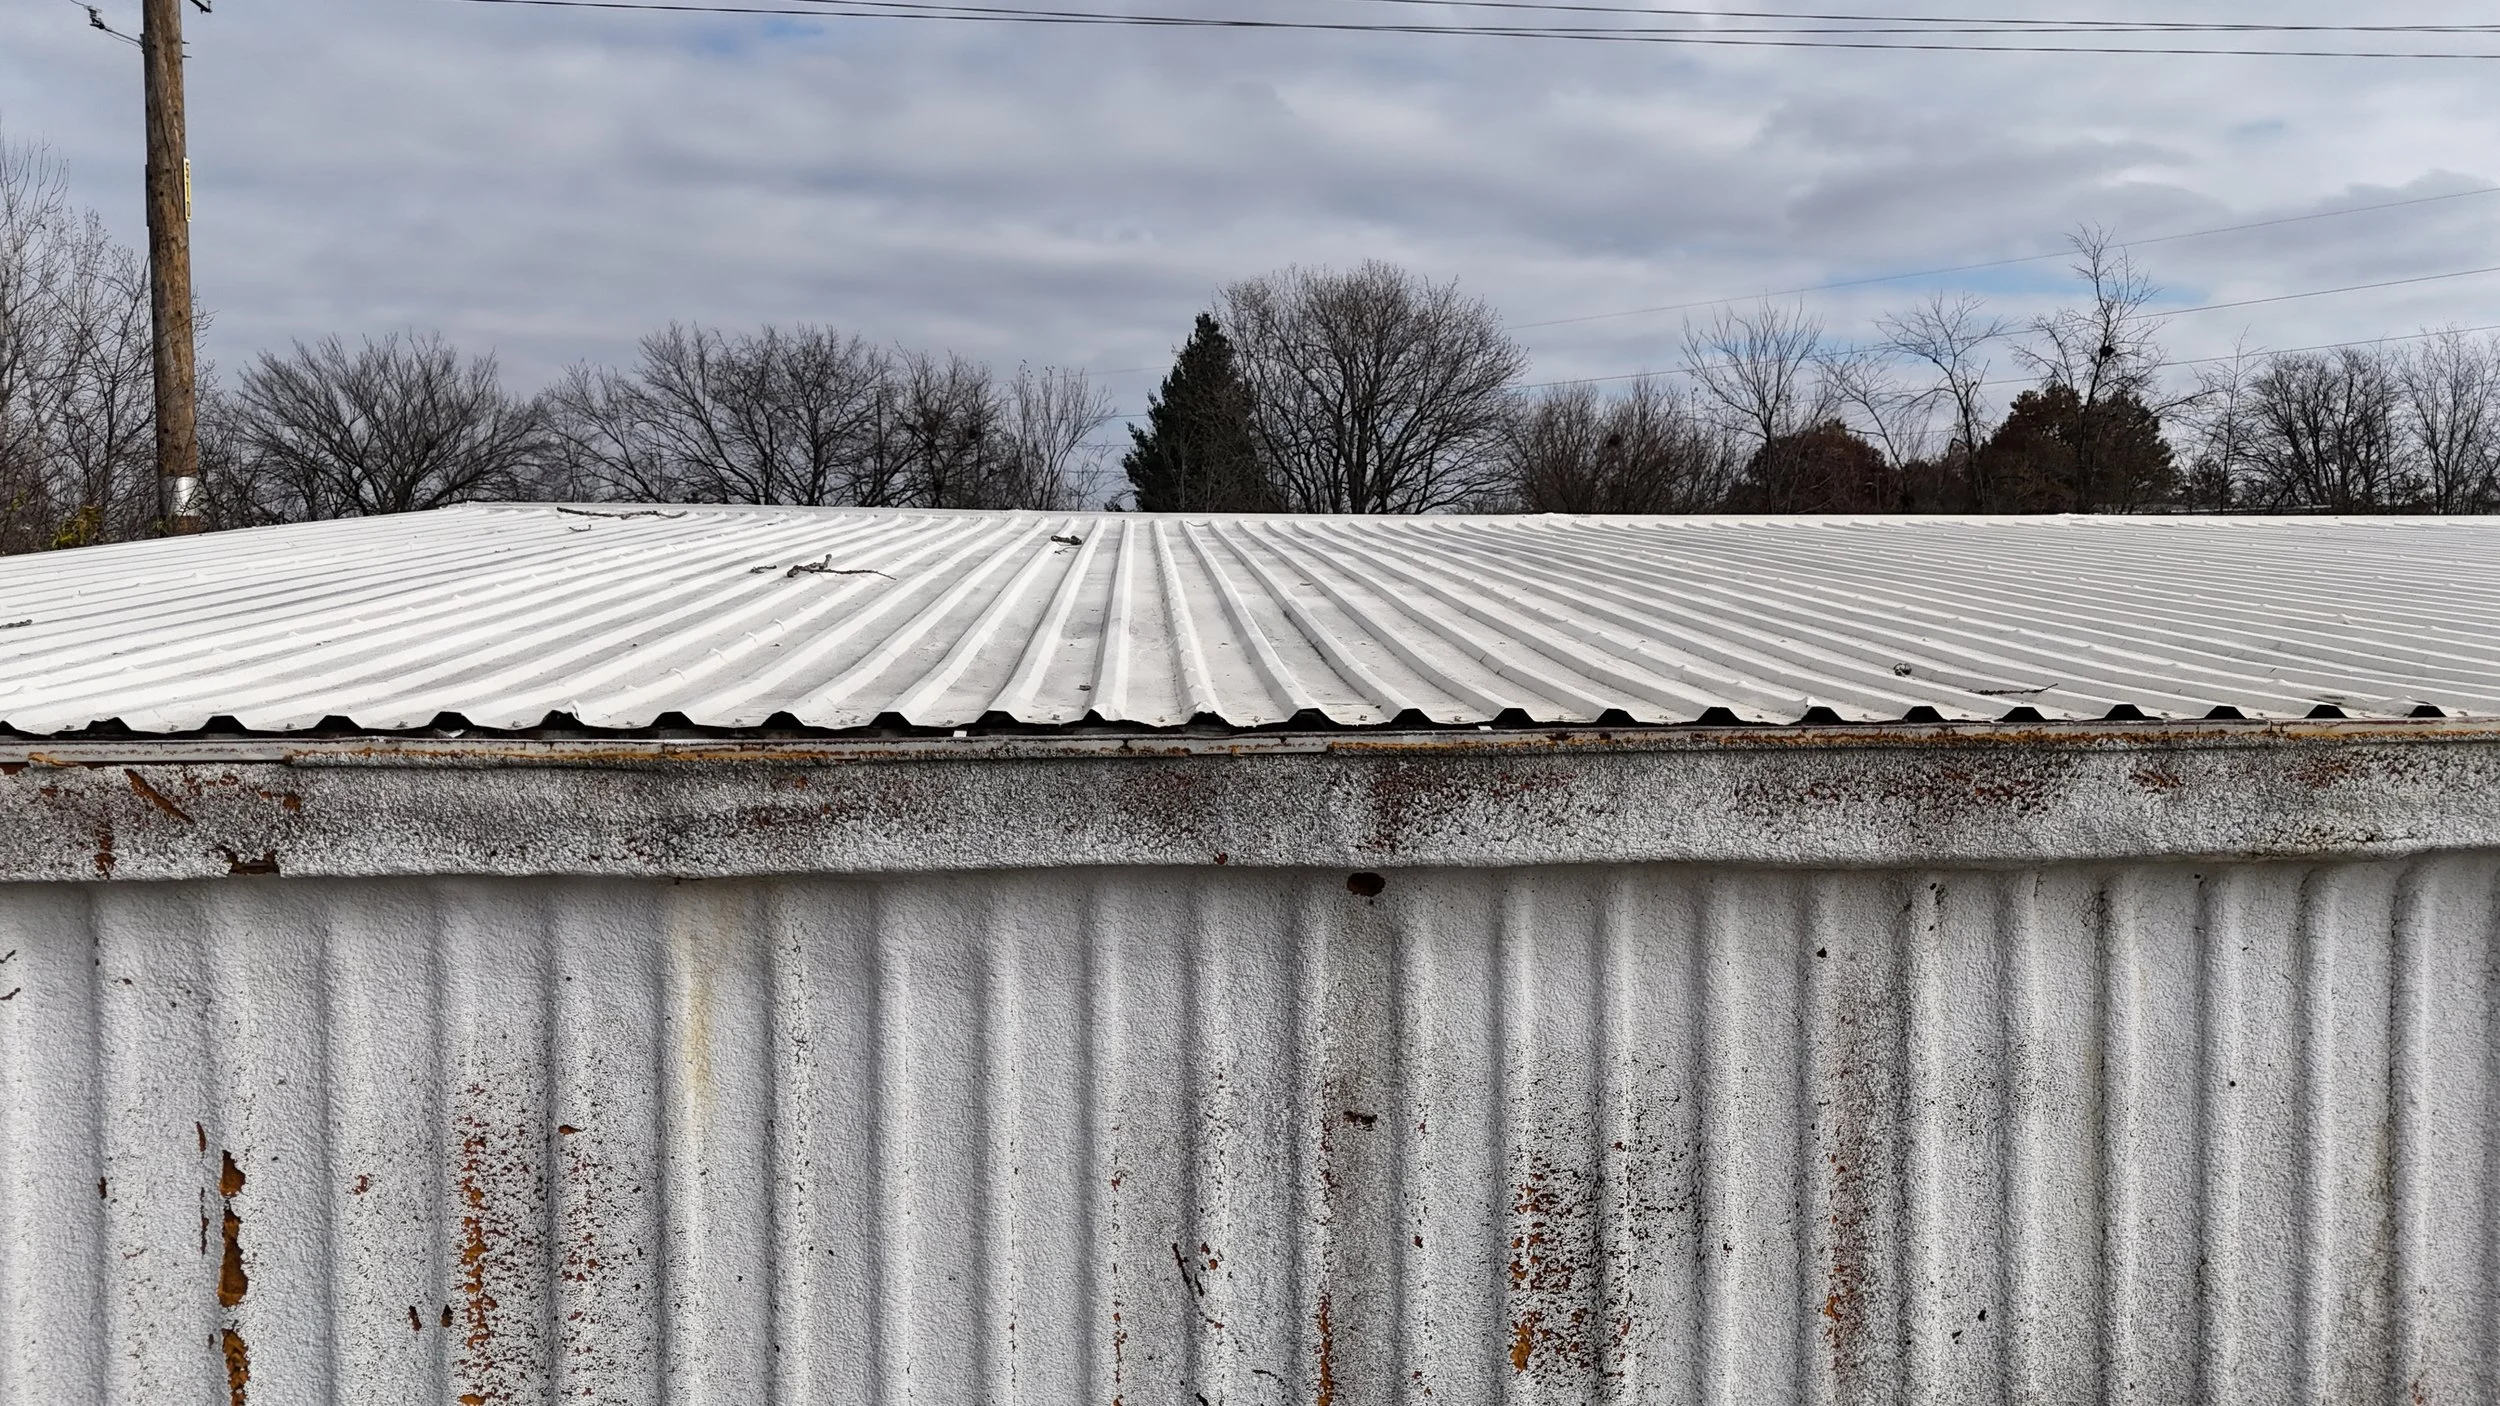
Roof Line photos can show Water damage and structural damage
Capture both overhead and angled imagery. Overhead images show roof layout and drainage patterns, while angled images reveal edge conditions, parapets, wall transitions, and exterior staining.
Look for visible roof concerns
The inspection should document visible indicators such as:
Torn, lifted, cracked, or displaced roofing materials
Membrane seams that appear open or deteriorated
Blisters, punctures, exposed underlayment, or loose sections
Granule loss on asphalt shingles
Damaged ridge caps or valley materials
Debris accumulation
Evidence of ponding or repeated water flow
Damaged edge metal
Hail impacts on visible metal components
Staining below roof edges or drainage outlets
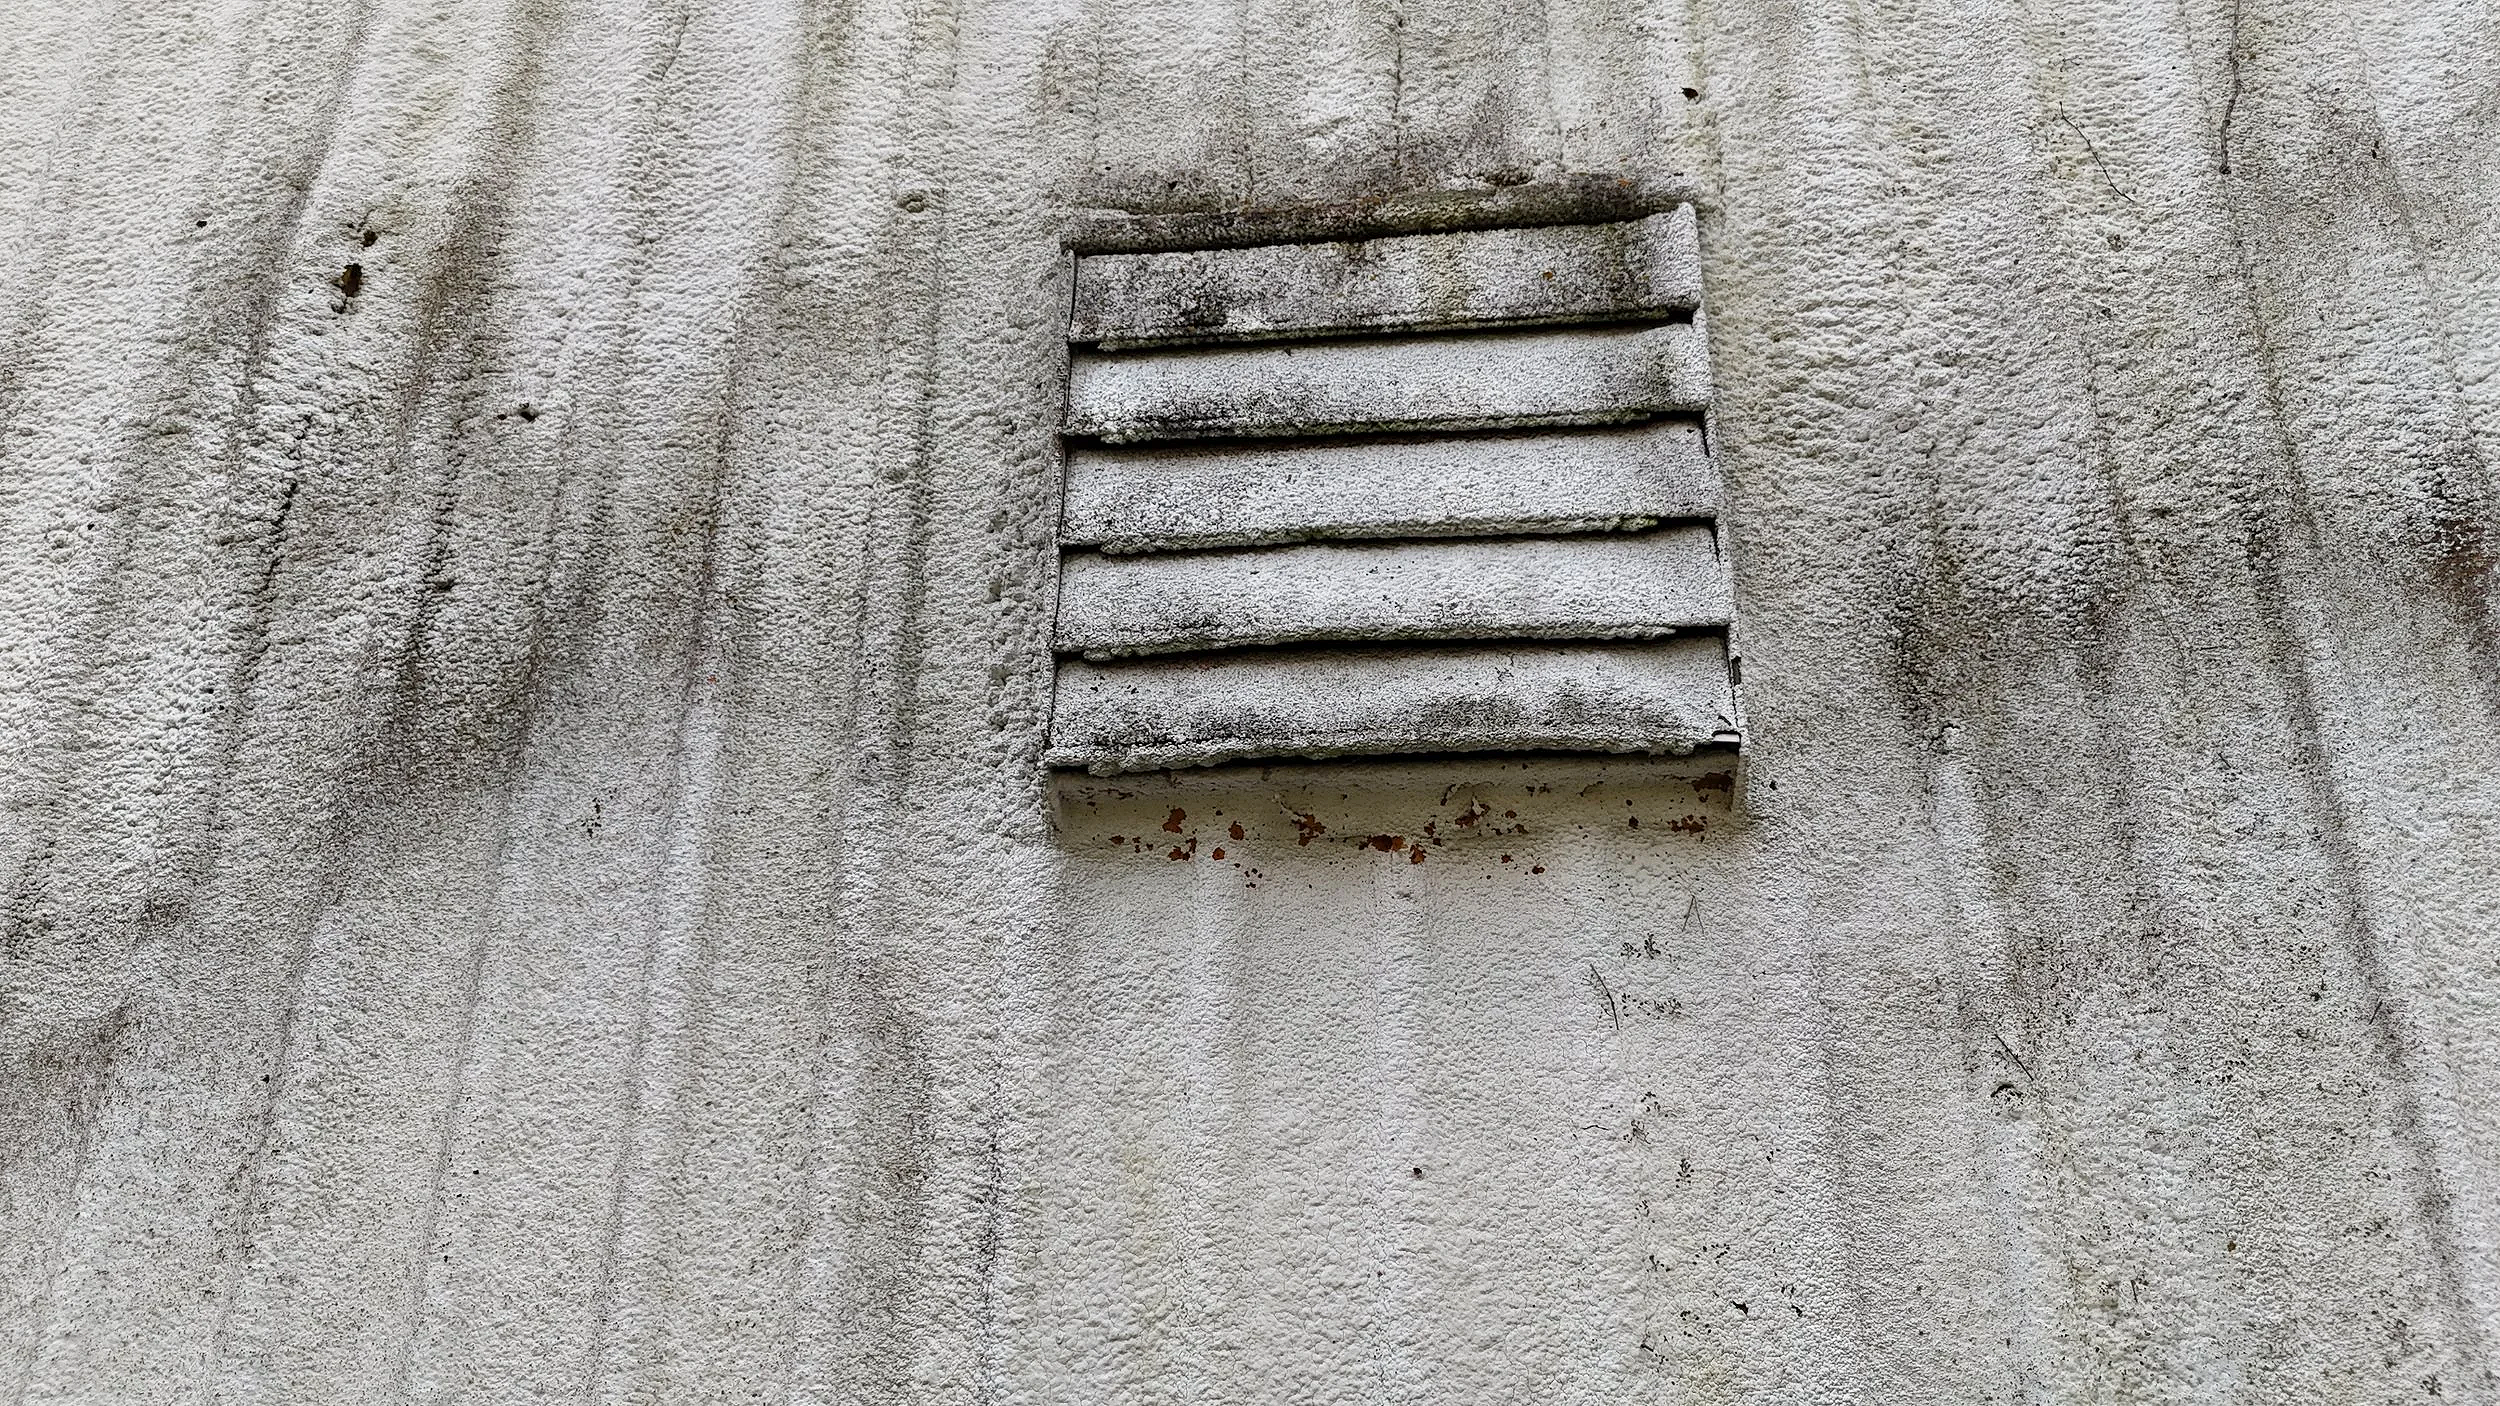
Potential ventilation and water issues at exterior vent
High-resolution imagery is valuable because you can review details on a large monitor after the flight. It also allows property managers and insurance professionals to share specific locations with roofing contractors without requiring everyone to access the roof.
Step 3: Check Gutters, Drains, Scuppers, and Downspouts
Drainage is one of the most important pre-winter inspection priorities. Leaves, branches, dirt, and roofing debris can block water movement. When temperatures drop, trapped water can freeze, expand, and contribute to damage around roof edges and drainage components.
A drone provides a clear visual check of drainage areas that are difficult or unsafe to reach from the ground.
Document these drainage components
Inspect and photograph:
Drain strainers and domes
Scuppers and overflow openings
Gutters and gutter seams
Downspouts and elbows
Downspout discharge points
Low spots and visible ponding areas
Debris around drainage paths
Sagging or separated gutter sections
Corrosion and damaged fasteners
Staining below overflow points
Look for leaves, trash, sediment, ice-prone buildup, and vegetation around drains. Note whether gutters appear to be holding debris or pulling away from the building.
Aerial imagery cannot confirm whether an interior drain flows properly. If a drain appears obstructed or if ponding is visible, document the location and recommend ground-level cleaning or physical verification by the appropriate maintenance or roofing professional.
Do not assume a clear-looking drain is functioning correctly. A drainage contractor or roofing professional may need to flow-test the system, verify secondary drainage, and confirm that water discharges safely away from the building.
Step 4: Inspect Flashing and Roof Penetrations Closely
Flashing and penetrations deserve detailed attention because they interrupt the continuous roof surface. These transition points are common locations for visible gaps, deteriorated sealant, corrosion, and water entry.
Use angled close-up images and controlled flight paths around:
Parapet walls
Roof-to-wall transitions
HVAC curbs and rooftop units
Vents and exhaust systems
Pipe boots
Skylights
Chimneys
Expansion joints
Wall caps and coping
Roof hatches
Equipment supports
Identify visible warning signs
The inspection should document:
Lifted, bent, or displaced flashing
Open seams and laps
Cracked or missing sealant
Separation between flashing and masonry or siding
Rust and corrosion
Cracked pipe boots
Damaged skylight edges
Patches that appear loose or incomplete
Staining beneath penetrations
Gaps at parapet corners or wall transitions
Drone imagery shows what is visible from the air, but it does not confirm whether a seam is watertight or whether moisture has migrated beneath the roofing system. Mark questionable conditions for follow-up by a qualified roofing contractor.
For insurance professionals, capture a wide context image and at least one detailed image for each concern. This connects the damage to a specific roof location and reduces uncertainty during claim review.
Step 5: Receive a Clear, Action-Oriented Inspection Report
The value of a commercial drone inspection depends on how clearly the information is delivered. A folder of unlabeled photographs forces you to spend additional time interpreting the results.
Your final deliverables should organize the inspection into a usable maintenance record.
A professional report should include
Property address and building identification
Inspection date and approximate flight time
Weather conditions
Roof zones or areas reviewed
Overview images
Detailed, high-resolution photographs
Image labels and location references
Annotated images with arrows or callouts
Summary of visible deficiencies
Priority classifications
Recommended follow-up actions
Original image files when appropriate
Notes identifying areas requiring physical confirmation
A practical priority system might include:
Urgent: Active leak indicators, open flashing, blocked primary drainage, major membrane damage, or conditions requiring immediate trade review
High: Significant deterioration, repeated ponding evidence, damaged penetrations, or compromised roof edges
Routine: Debris removal, minor corrosion, sealant monitoring, or conditions suitable for planned maintenance
The report should help you answer three questions:
What condition was found?
Where is it located?
What action should happen next?
Keep the report with your building maintenance records, roofing invoices, storm documentation, and prior inspection imagery. Consistent records make it easier to compare seasonal changes and track whether repairs corrected the original concern.
Schedule Your Iowa Roof Inspection Before the Weather Changes
Late August is the planning window. Scheduling now gives you time to complete the flight during suitable conditions, review the report, obtain repair estimates, and address drainage or flashing concerns before sustained freezing temperatures.
Studio 5 Drone Productions is a veteran-owned company based in Pella, Iowa, providing professional drone roof inspection services across Iowa and Northern Missouri. You receive direct access to the operator, clear communication, and documentation built for practical maintenance and insurance review.
If you are searching for drone services near me, choose a provider that combines FAA compliance, local knowledge, safe operations, and professional imaging.
Contact Studio 5 Drone Productions to discuss your commercial property and pre-winter inspection needs. You can also review our previous guide on drone roof inspections for Iowa commercial property owners.
Professional Standards at a Glance
Company: Studio 5 Drone Productions
Ownership: Veteran-owned
Location: Pella, Iowa
Certification: FAA Part 107-certified pilots
Imaging: Ultra-HD 4K video and high-resolution still photography
Primary focus: Commercial and industrial roof inspections
Safety advantage: No routine ladders, scaffolds, or roof access required for visual documentation
Coverage: Iowa and Northern Missouri
Deliverables: Organized imagery, annotated findings, and action-oriented reporting
Service model: Direct access, responsive communication, and accountable local service